Can I DIY a PPF Wrap? The Honest Truth About DIY vs Professional Installation
Can you DIY PPF? Yes. Should you — on major panels? Almost certainly not. PPF installation is genuinely one of the hardest films to apply correctly. This guide tells you exactly what you'd be taking on, what goes wrong, and where DIY actually makes sense (small panels only).
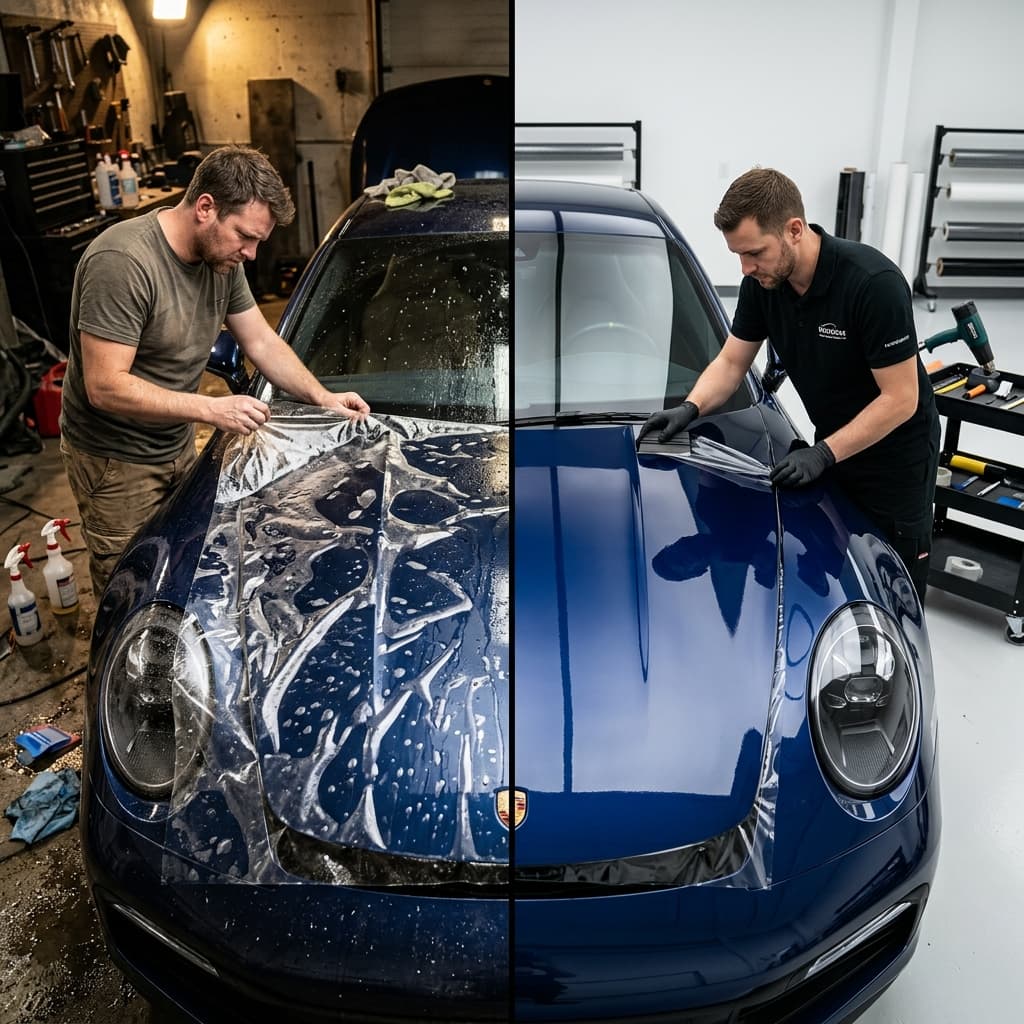
We see the results of DIY PPF attempts regularly — vehicles brought in for professional removal and reinstallation after a kit purchase didn't go as planned. Here's what you need to know before you buy a roll.
Why PPF Is Harder to DIY Than You Think
If you've successfully applied window tint, vinyl stickers, or contact paper, you might feel confident about PPF. The challenge is that PPF is fundamentally different from all of these:
It's 8 Mils Thick — It Has a Memory
PPF is 4-8x thicker than vinyl wrap. This thickness gives it its impact protection — but it also means the film resists being shaped around complex curves. It wants to return to its flat state. Professional installers use heat guns to make the film compliant around curves, tension management to prevent stress lines, and years of practice to read how the film is behaving.
Wet Application Requires Dust-Free Conditions
PPF is applied with a slip solution (water + soap) that allows positioning before the film locks down. Any dust, lint, or particle in your garage, driveway, or workspace that lands on the adhesive side gets permanently trapped under the film — visible as bumps, often white or dark specs, impossible to remove without pulling the entire panel.
Manual Cutting Risks Paint Damage
Professional shops use computer-generated patterns pre-cut from XPEL's DAP software or equivalent. These patterns precisely match your vehicle's panels without any cutting needed on the car. DIY kits require either cutting on the vehicle (knife through film = knife touching clear coat risk) or cutting pre-sized generic pieces that don't perfectly fit your specific model year.
Bubbles Are Permanent Without Full Removal
Moisture bubbles from improper squeegee technique often resolve within 2-4 weeks as moisture evaporates. But air bubbles from trapped particles, folds, or application errors are permanent. Once the adhesive has set (usually 24–48 hours), you cannot lift a section, smooth a bubble, and re-lay it without leaving permanent distortion in the film.
The Real Cost Comparison: DIY vs Professional
| Scenario | Upfront Cost | Risk | Likely Total Cost |
|---|---|---|---|
| Professional full front (certified) | $1,800 – $3,200 | Minimal | $1,800 – $3,200 |
| DIY kit + successful install | $400 – $800 | Very high | $400 – $800 (rare) |
| DIY kit + failed install + pro redo | $400 + $200–$400 removal + $1,800–$3,200 reinstall | Common outcome | $2,400 – $4,400 |
| DIY door cups / mirror caps only | $100 – $200 | Low–Medium | $100 – $200 (viable) |
The math is stark: most first-time DIY attempts on major panels fail and require professional intervention. The combined cost exceeds what professional installation would have cost. The exception is small, low-complexity, low-visibility panels.
Difficulty Rating by Panel
DIY Difficulty Level by Panel (10 = Expert Only)
Where DIY PPF Actually Makes Sense
To be fair: DIY PPF is entirely appropriate for specific applications:
Door Cup Inserts
The paint cups around door handles are small, flat-ish, pre-cut to standard sizes, and low-visibility. Many pre-cut door cup kits are genuinely DIY-friendly and protect against fingernail scratches effectively. A good starting project for PPF beginners.
Trunk / Rear Bumper Loading Lip
A flat strip across the top of the rear bumper where the trunk lid scrapes when loading. Low complexity, low visibility if not perfect, and high impact protection value. Pre-cut strips are widely available.
Flat Mirror Caps
On vehicles with flat, simple mirror cap shapes (common on trucks and SUVs), pre-cut DIY mirror kits can work reasonably well. Complex sculpted mirror caps are a different story — attempt only on simple shapes.
Tools Required for a Serious DIY Attempt
| Tool | Purpose | Cost |
|---|---|---|
| Heat gun (variable temp) | Film conforming around curves | $50 – $200 |
| Slip solution (water + car soap) | Film repositioning during application | $5 – $20 |
| Hard card squeegee + felt tip | Bubble and moisture removal | $20 – $50 |
| Knifeless tape | Clean edge cuts without touching paint | $15 – $40 per roll |
| Isopropyl alcohol (99%) | Surface prep before application | $10 – $20 |
| Lint-free microfiber cloths | Surface cleaning | $20 – $40 |
| Pre-cut vehicle patterns (specific to your car) | Precise panel coverage | $200 – $600 |
| Clean indoor workspace (no dust/wind) | Contamination prevention | Required — non-negotiable |
Total tool investment for a serious DIY attempt on a full front: $300–$900 before the film itself. Add a quality pre-cut film kit at $400–700 and you're at $700–$1,600 — not dramatically cheaper than professional installation, and with a high risk of needing professional remediation.
The Pros
- DIY small panels (door cups, trunk lip): genuinely viable at low cost
- Learning experience for enthusiasts interested in the craft
- No scheduling or drop-off required
- Can be done at your own pace on small, simple panels
The Cons
- Major panels (hood, bumper, fenders) have 60–80% failure rate for first-timers
- Failed DIY costs more total than just starting with a professional
- No warranty — any defect is your problem and your cost
- Garage dust and particle contamination is nearly impossible to eliminate fully
- No access to professional computer-cut patterns for complex curves
- Paint damage risk from manual trimming on vehicle surface
- No access to professional-grade film — retail kits use lower-tier film
Our Recommendation
If you want to try DIY PPF, start with a door cup kit or trunk lip strip. Get comfortable with the feel of the material, the slip solution technique, and the squeegee process. See if the result meets your standards before committing to a $600 hood attempt.
For hoods, bumpers, fenders, and any panel visible from a normal viewing distance — have a certified installer handle it. The price difference shrinks when you factor in the realistic probability of failure, and the result is a 10-year manufacturer-warranted installation rather than an unwarranted experiment.
Done Right, the First Time.
Certified installers, computer-cut patterns, 10-year manufacturer warranty, and our lifetime workmanship guarantee. No experiments — just results. Get a transparent quote with exactly what's included.
Get a QuoteFrequently Asked Questions
Experience The Best.
Don't let another commute compromise your vehicle. Get a quote from Calgary's Consumer Choice Award winner today.
Explore Our Services


")