Winter Tire Changeover Damage in Calgary: The Pre-Swap PPF, Wheel Photo Protocol & Shop-Vetting Playbook (2026)
The Calgary winter tire changeover window (Oct 1 – Nov 15) causes more preventable cosmetic wheel and rocker-panel damage than any other single event on the annual calendar — bead-breaker chatter marks on the rim lip, wheel-clamp gouges on the face, torque-stick starbursts around the lug seats, and salt-brine spray damage to unprotected fender arches on the drive home. The five-part playbook: (1) take an 8-shot photo grid before you hand over the keys, (2) ask the counter five vetting questions (nylon jaw covers, click-torque, damage log, escalation path, fresh TPMS grommets), (3) add rocker-panel and fender-arch PPF at least 14 days before the swap so film has hit functional cure, (4) add wheel ceramic coating on dark-finish wheels before winter brine hits, and (5) know the Service Alberta Consumer Investigations complaint pathway if a shop refuses responsibility. Book the PPF and the tire swap on the same call — the shops that do both in-house will sequence the calendar for free.
Every October a Calgary owner books a Saturday winter tire changeover at Kal Tire or Fountain Tire, picks the vehicle up in the afternoon, and does not notice the fresh 2 mm arc across the rim lip of the front driver-side wheel until they wash the car three weeks later — by which point the shop has no record of pre-existing condition and the diamond-cut refurbish is the customer's bill. The problem is not that Calgary tire shops are careless; the vast majority are not. The problem is that the annual changeover funnels every set of wheels in the city through a two-week window, the shops are working at capacity, and the customer has zero pre-drop documentation. This post is the five-minute protocol that changes that math — plus the specific PPF and ceramic wheel coating decisions to make before the tire swap so the paint and finish reach November already protected.
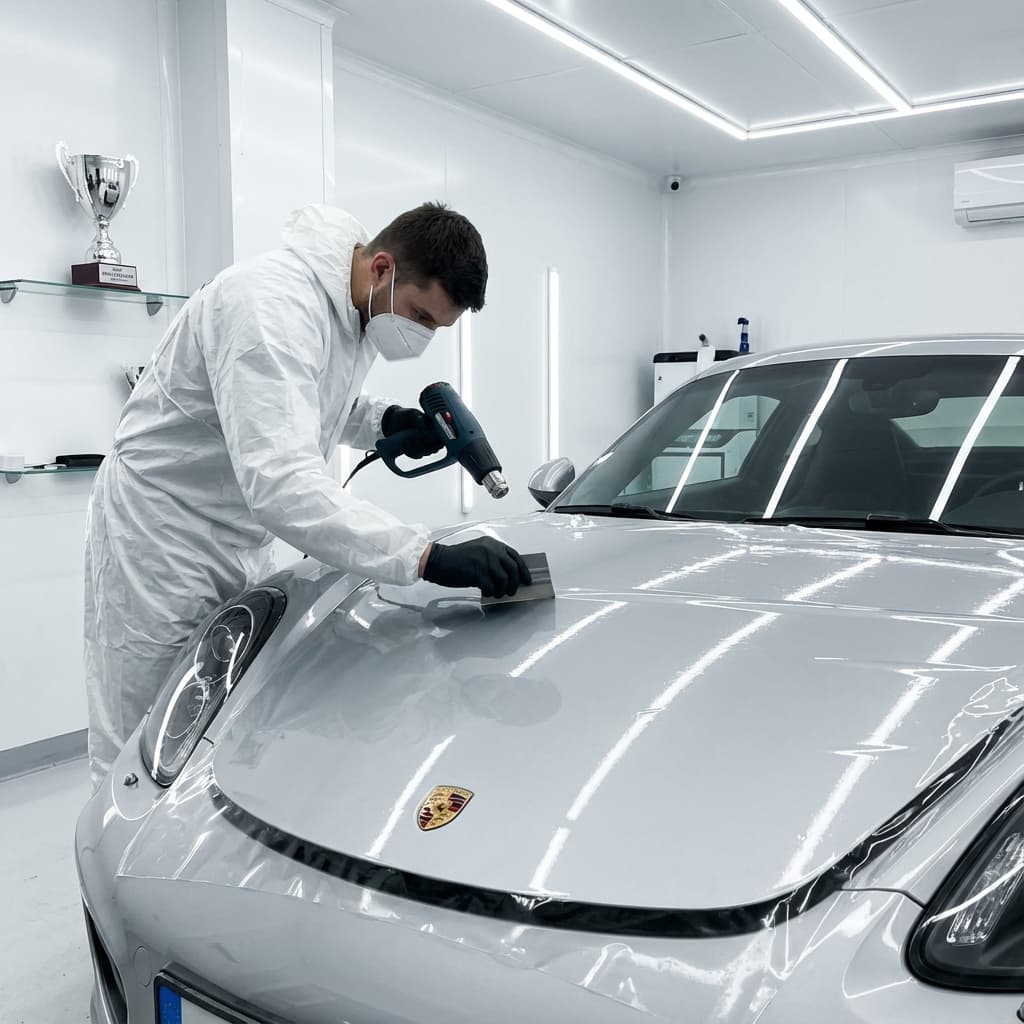
Every October our bay sees a steady arrival of vehicles booked for last-minute rocker-panel and fender-arch PPF the week after a tire swap — the owner walked out of the tire shop, drove home on wet salt-brine roads, and spotted a fan-shaped grit pattern across the lower panels that a pressure wash did not touch. In every one of those conversations the fix is the same and the timing math is the same: film had to go on before the swap, not after, and the wheel-lip needed a ceramic coating before the first brine day, not after the first winter had already baked calcium chloride into the clear coat. What follows is the sequence we walk every customer through in September — the shops they should trust, the photos they should take, the panels that should be filmed, and the wheel coatings worth the CA$400–700 line item.
Reviewed by Calgary PPF Pros — 4× Consumer Choice Award winner, protecting Calgary vehicles since 2021, 5.0★ rated across 90 verified reviews.
The Four Damage Patterns Every Calgary Tire Bay Quietly Sees
Cosmetic damage from a tire changeover is not one thing; it is four distinct mechanical events that happen in a specific order during the mount cycle. Recognising them by name — and knowing which one you are looking at on a damaged wheel — is what turns a shrug at the counter into a diamond-cut ticket the shop pays for.
- Bead-breaker chatter on the rim lip. The tire machine's bead-breaker arm applies 2,000+ lb of downward force against the tire sidewall to release the bead from the wheel lip. If the tech skips the nylon or urethane jaw cover — or if the wheel lip is wet with brine crust from the drive over — the steel arm slips and leaves a 2–4 mm arc of clear-coat damage that runs along the top edge of the rim. Refurbish requires a diamond-cut on the lip, CA$180–350 per wheel at a Calgary specialist.
- Wheel-clamp gouges on the face. Most Calgary tire machines are "centre-lock" but many older bays still run "jaw-clamp" machines that grip the outer face of the wheel with four steel arms. Without plastic jaw covers the arms dig through the clear coat at 12/3/6/9 o'clock — the classic four-point damage signature. On dark-finish wheels the damage is visible from three metres in daylight.
- Torque-stick chatter around the lug seats. A hurried impact-gun run on a factory-painted lug seat — without the click-torque-wrench pass that should follow — leaves a starburst of tiny scratches around each lug hole. Individually these look minor; on all five holes across four wheels they read as a rushed install and quietly hurt resale.
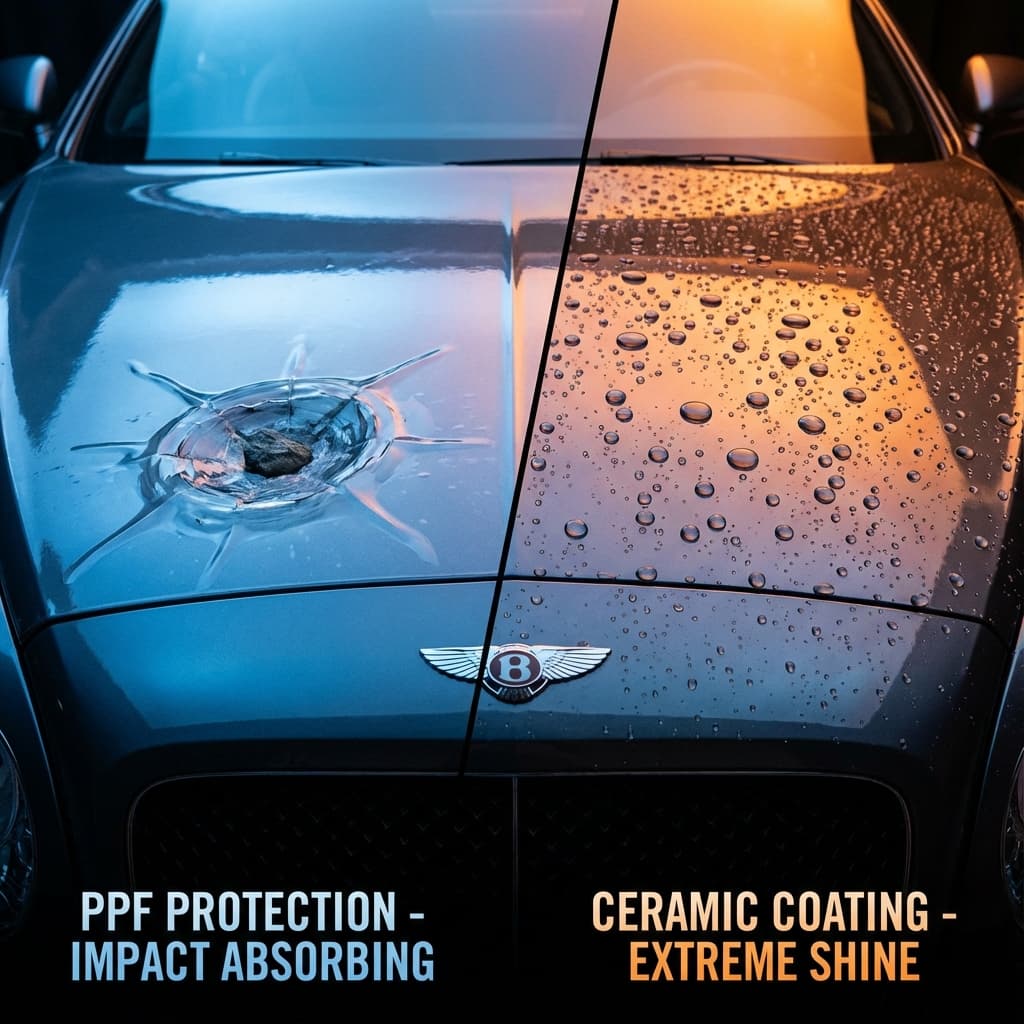
- Salt-brine spray damage on the drive home. The freshly mounted winter tire is spinning wet with residue from the shop floor, and the first 15–25 km of highway spray fires calcium-chloride brine and fine sand into the rocker panel, fender arch, and lower quarter. This is not the tire shop's damage per se — it is the annual paint tax of driving off the mount lift onto Deerfoot, Glenmore, or Stoney on a wet Wednesday in October. PPF applied to those exact panels before the swap absorbs 100% of it.
| Damage Pattern | Where It Shows | Repair Cost (CA$) | Prevention |
|---|---|---|---|
| Bead-breaker chatter | Rim lip, 12 o'clock arc, 2–4 mm | $180–350 per wheel (diamond-cut) | Nylon jaw covers at booking |
| Wheel-clamp gouges | Rim face, 12/3/6/9 o'clock | $220–450 per wheel (full refinish) | Plastic clamp jaws, centre-lock machine |
| Torque-stick chatter | Around each lug seat, starburst | $60–140 per wheel (touch-up) | Click-torque pass after impact gun |
| Salt-brine spray | Rocker + fender arch + lower quarter | $400–800 per panel (paint correction) | PPF applied 14+ days before swap |
Roughly one out of every four Calgary drivers we film in mid-October is quietly living with at least one of the four — most commonly the bead-breaker arc on the front driver-side rim, because the front-driver corner is the first tire mounted on almost every changeover and the technician's bead-breaker is coldest at that point in the shift. Knowing the taxonomy in advance is what changes the photo grid you take at drop-off.
The 8-Shot Photo Protocol — 90 Seconds That Pays Back the First Time It Matters
Take these eight shots on your phone before you hand over the keys, with the shop's counter or your license plate visible in at least one frame, and text the album to yourself so the timestamp is independently proven. This is the single highest-leverage 90 seconds of your entire changeover appointment.
Shot 1 — Rim lip, 12 o'clock straight on
00:15Focus on the outer edge where the bead-breaker will contact. Any pre-existing curb rash lives here — you want it timestamped before the mount.
Shot 2 — Rim face, straight on all four wheels
00:30The clamp gouge zone. Shoot straight on so the reflection reveals any existing swirl marks or clear-coat damage.
Shot 3 — Inner barrel through the spokes
00:45The barrel is where brine bakes on hardest and where techs occasionally over-torque; you want a reference frame.
Shot 4 — Valve stem and TPMS sensor
01:00If a sensor is broken during the mount you want proof it was intact when you dropped the vehicle. Sensors are CA$60–180 each and this shot ends the argument.
Shot 5 — Rocker panel from mid-wheelbase
01:15The salt-brine spray zone. If PPF is already installed, this frame proves it was intact at drop-off.
Shot 6 — Fender-arch inner edge
01:30The gravel-and-grit zone. Same purpose as the rocker shot — proves condition before the shop's drive-in mat scraped it.
Shot 7 — VIN plate on the door jamb
01:45Links the album to this vehicle beyond dispute. Consumer Investigations Alberta asks for this on any complaint file.
Shot 8 — Service counter or shop entrance timestamp
02:00Anchors the album to this shop, this appointment, this date. Some phones GPS-tag automatically; if yours does not, take the shot at the entrance sign.
If damage shows up at pickup, walk the photos to the service manager (not the advisor) and open a repair ticket on the spot. Most reputable Calgary shops resolve here — the manager knows a CA$300 diamond-cut is cheaper than a Google review war. If the shop refuses, the escalation path is Consumer Investigations Alberta at Service Alberta (1-877-427-4088). They open a file when the complainant can prove condition before and after; the eight-shot album is exactly what they ask for.
The 14-Day Booking Sequence — Get the Film Cured Before the Wheels Come Off
The single-biggest scheduling mistake we see in October is a customer who books a Saturday tire swap first, then calls us Monday morning asking whether we can fit a rocker-panel PPF install in the following week. The answer is yes, but the sequence is wrong — the film needs functional cure (day 7 minimum on aluminum, day 14 on painted steel) before it is asked to shed the first round of Deerfoot salt-brine. Reverse the order: book the PPF appointment first, then book the tire swap for a date at least 14 days later. The Calgary PPF cure time cascade walks the day-by-day gates; the calendar below is the short version paired with a tire-swap booking window.
| If your PPF install is: | Functional cure hits: | Earliest safe tire swap: | Ideal tire swap: |
|---|---|---|---|
| Mid-September (Sep 15–20) | Sep 22–27 | Late September | First week of October |
| Late September (Sep 21–30) | Sep 28–Oct 7 | Early October | Second week of October |
| First week of October | Oct 8–14 | Mid-October | Third week of October |
| Second week of October | Oct 15–21 | Late October | Last week of October |
| Third week of October or later | Oct 22+ | Book chinook garage plan first | Delay swap to Nov 1+ if possible |
The reason this matters more than most Calgary shops explain: the City of Calgary road-conditions team starts direct-liquid calcium-chloride brine on Deerfoot, Stoney, Glenmore Trail, and 16 Avenue N in the first week of October. A PPF install that has not hit functional cure by the first brine day is trying to bond on a substrate the winter is actively wetting with a hygroscopic salt — the bond finishes weaker and the year-two edge lift starts earlier. Our companion post on chinook thermal cycling on fresh PPF covers the 72-hour physics that makes September installs measurably safer than late-October ones.
Panels That Earn Their PPF at Tire Changeover Time
A full-front PPF package is the classic answer for chip protection, but the tire changeover season specifically stresses a different set of panels. If a customer is on a budget and only wants to add film to the panels that pay back through October–November, this is the priority order — every panel here is exposed to a documented failure mode from the swap sequence or the first-brine drive that follows it.
- Rocker panels (lower door sill area). The single most spray-damaged panel of the Calgary winter — brine and grit come off the tread of the new studless tire at 20 km/h onto a horizontal panel that faces directly outward. CA$549–899 for a full rocker package in Calgary; the difference between a bare rocker at year three and a filmed rocker is night-and-day at trade-in.
- Fender arches (inner edges). The classic gravel-blast zone. Wraps around the arch lip so the leading edge is protected against direct impact from spray coming off the rear tire on the front car in front of you.
- Lower quarter panels. The zone directly behind the rear wheel. Salt-brine sits here for hours after a highway drive if you park before the underside dries.
- Door cups and door bottoms. Winter-boot scrape from the driver's side climbs into the door cup; salt slush drips off the underside of the door when it is opened on a wet day.
- Rear-bumper top edge. Loading and unloading winter gear (skis, sled, groceries) hits this exact edge every trip; a strip of PPF costs CA$149–229 and outlives the vehicle.
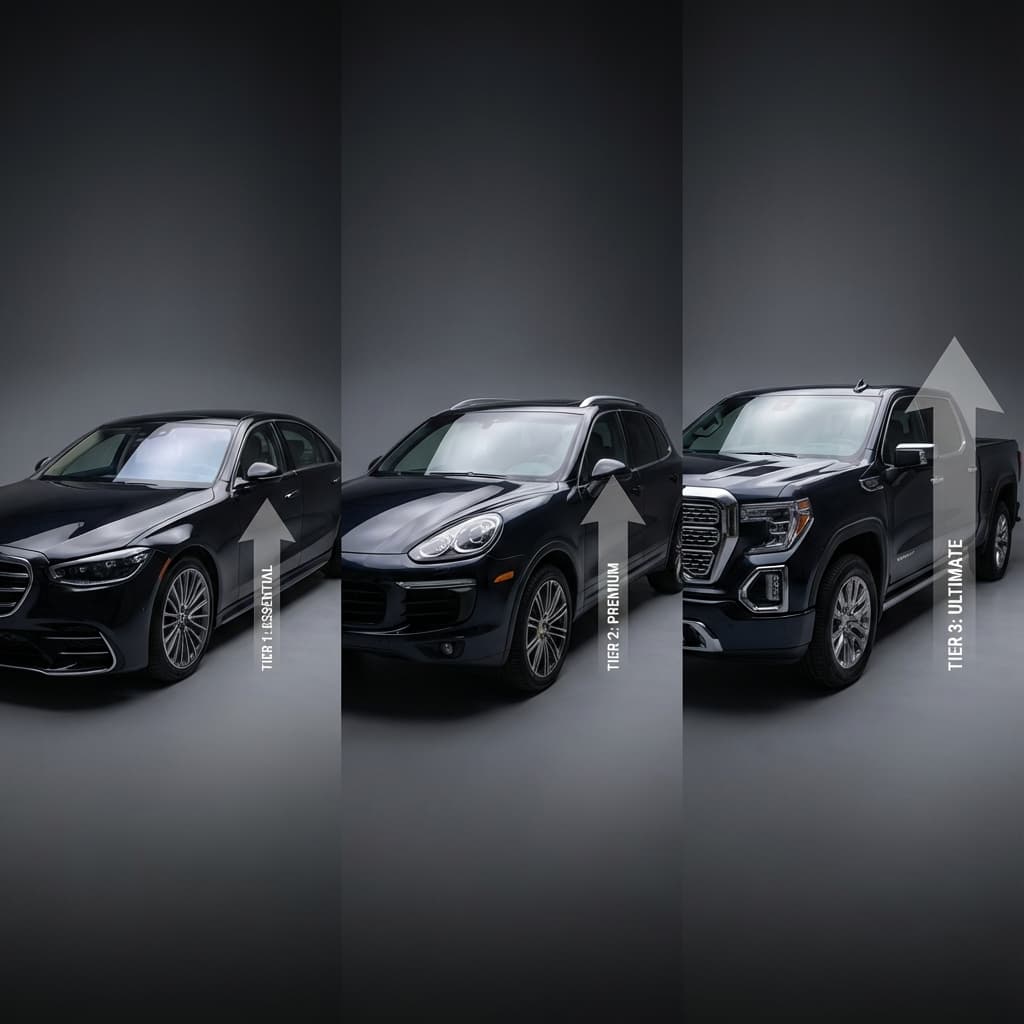
For readers already running a full-front PPF package, the rocker + fender-arch add-on is the standard October upgrade; for readers starting from scratch, the rocker + fender-arch + door-cup combo is the highest-ROI "tire changeover season" package in the Calgary catalogue.
Wheel Ceramic Coating — When It Is Worth CA$400–700, When It Is Not
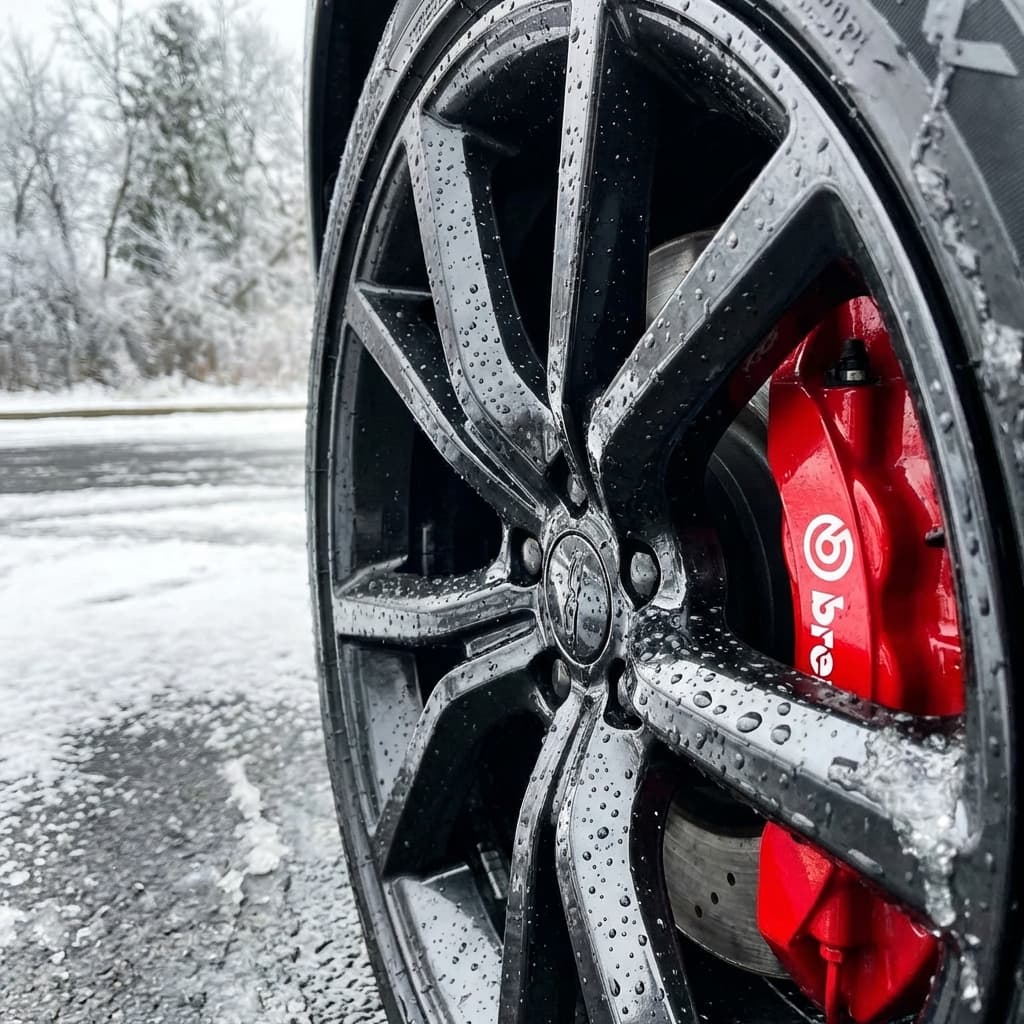
The other add-on that pays back specifically during changeover season is a professional wheel ceramic coating on the winter set (and, ideally, the summer set at the swap-back in April). The coating puts a hard hydrophobic film on the wheel face and inside the barrel that stops calcium-chloride brine, iron brake dust, and Deerfoot road-tar aerosol from bonding to the clear coat.
Worth it for: gloss-black, tuxedo-black, satin-black, gunmetal, and any diamond-cut two-tone finish; luxury alloys where a diamond-cut refurbish runs CA$300+ per wheel; performance vehicles where brake dust load is elevated (M-sport, AMG, Trackhawk, Model Y Performance).
Nice-to-have for: matte-finish factory wheels, silver-painted alloys, most base-trim OEM wheels that will be replaced at trade-in anyway. Not worth the line item on a leased vehicle with steel winter wheels — a hand-applied spray-sealant (Gtechniq C2v3, CarPro EcH2O) at CA$60/bottle handles those.
Our Calgary wheel ceramic coating guide breaks down the product tiers (Gtechniq C5 Wheel Armour, CarPro DLUX, Ceramic Pro Wheel & Caliper), the prep sequence, and the per-set CAD cost by wheel size.
The Five-Question Shop Vetting Script
Ask these five questions at the phone-booking stage — not on the counter on swap day when the answer is already academic. A shop that answers "yes" to all five is the shop you rebook every year; a shop that hedges on any of them is the shop where you photograph aggressively.
- "Do your bead-breakers use nylon or plastic jaw covers on painted alloys?" The correct answer is yes and it is not negotiable on premium wheels. A shop that says "we're careful" without naming the cover material has not thought about it.
- "Does the tech torque with a click wrench after the impact gun?" The correct answer is yes. Impact guns over-torque; a torque-stick alone is imprecise below −5 °C; a follow-up click-wrench pass at the vehicle's spec (typically 100–140 lb-ft for passenger cars, 140–165 lb-ft for full-size trucks) is the professional standard.
- "Do you photograph pre-existing wheel condition before the mount cycle?" The correct answer is yes if it is a real yes — a written policy, not a shrug. Bonus points for a shop that emails the album back to the customer at pickup.
- "Is there a named service manager who handles damage escalations at pickup?" The correct answer is a first name. A shop that says "talk to whoever is at the counter" has no escalation process.
- "Do you use a fresh set of TPMS grommets and valve cores if the sensors are removed?" The correct answer is yes on any vehicle 2016 or newer. Old grommets leak slowly under salt-brine and cost the customer a low-tire-pressure warning by December.
In Calgary practice, the shops that answer cleanly to all five: Kal Tire Deerfoot City, Fountain Tire Chinook, Tirecraft Blackfoot, OK Tire Macleod, and — for premium alloys — the specialist bays at BMW/Mercedes/Porsche dealer service (with named senior techs; ask by name at booking). Costco Auto Centre Chinook batches high volume and the technicians are strong, but the counter script varies by advisor — photograph regardless.
Six Common Owner Mistakes That Turn a Clean Swap Into a Bill
Each of these is a conversation we have had this year — every one is preventable at the phone-booking stage or at drop-off.
The "first-thing-Monday-morning" mistake
Booking the first slot of a Monday when the tech's bead-breaker is coldest and the pressure to move volume is highest. A cold bead-breaker slips more; a busy schedule rushes the click-torque pass. Fix: book mid-week and mid-morning (Tuesday to Thursday, 10 a.m.–2 p.m.) whenever possible.
The "PPF booked after the swap" mistake
Tire swap on Friday, PPF the following Wednesday. The rocker panels take six days of salt-brine spray before the film goes on, and now the film is protecting damaged paint. Fix: PPF first, tire swap 14+ days later. Every time.
The "dealer package" mistake
Signing a dealer's "tire storage plus swap" package that includes a spray-on wax add-on labeled as a "paint sealant" — this is not ceramic coating, does not stack with real ceramic, and often blocks a proper wheel ceramic from bonding for 90 days. Fix: decline the spray-on paint sealant and add a real professional coating separately.
The "keep the same TPMS grommets" mistake
Refusing the CA$8/wheel grommet replacement to save CA$32 on the invoice. The rubber grommet compresses under torque and does not re-seat cleanly; by January the sensor leaks slowly and you spend a Saturday chasing a phantom low-tire warning. Fix: always replace grommets on any car 2016+ at the swap.
The "drive-through car wash on the way home" mistake
Freshly installed PPF is not yet at functional cure and the touchless bay applies a warm alkaline soap that the still-forming adhesive cannot handle. Fix: no washes of any kind for 7 days after a PPF install, and no touchless with hot-wax add-ons for a full 30 days.
The "wait to photograph until damage is spotted" mistake
The photo album is worth nothing if it is taken at pickup — the shop's response is always "that was there when it arrived." Fix: eight shots before you hand over the keys, texted to yourself, or you have no case.
Bottom Line — Your September-to-October Booking Order
Compress the whole playbook into a five-line note in your phone. If you do only these five things between now and your changeover, you will hit November already protected — and if the tire shop makes a mistake, you will hold the receipts.
- Book PPF first (rocker + fender-arch + door-cup at minimum). Aim for mid-to-late September so functional cure lands before the first brine day.
- Book wheel ceramic coating on the winter set if wheels are gloss-black, gunmetal, or diamond-cut. Same appointment as the PPF wherever possible.
- Book the tire swap for a date 14+ days after the PPF install. Mid-morning midweek, at a shop that answered yes to all five vetting questions.
- Take the eight-shot photo grid at drop-off. Text the album to yourself; keep it forever, not just for this appointment.
- Inspect on pickup, in daylight. Wheel lip, wheel face, lug seats, rockers. Any damage — service manager, on the spot, photo album ready.
Do the five and the Calgary changeover season becomes a non-event — the wheels come off clean, the film is already cured against salt-brine, the shop has an incentive to be careful, and the winter starts with your paint and finish already in a defensible position. Skip any two of them and October becomes the month you spend three Saturdays chasing a shop, a wheel refinisher, or a paintless dent-repair specialist. The five minutes at the counter is the whole story.
Related Reading
Wheel Ceramic Coating Calgary (2026)
Full product-tier and per-set CAD cost breakdown for winter-wheel ceramic coatings — the exact add-on for gloss-black or diamond-cut finishes.
Chinook & Fresh PPF: The 72-Hour Rule
Why an October chinook inside the first 72 hours after a PPF install costs bond strength — the physics behind the 14-day cure buffer.
Fall Car Protection Checklist Calgary
The wider mid-September to mid-October prep sequence — undercarriage rinse, wiper fluid swap, block heater test, PPF check.
Book the Rocker + Fender-Arch PPF Before Your Tire Swap
Mid-to-late September install slots for rocker-panel and fender-arch PPF paired with wheel ceramic coating on the winter set — cured in the heated bay, hits functional cure before Calgary's Oct 1 brine day, and stacks cleanly with your Kal Tire, Fountain Tire, or Costco changeover appointment two weeks later. Lifetime workmanship warranty and the same 4× Consumer Choice Award studio that has protected Calgary vehicles since 2021.
Frequently Asked Questions
Experience The Best.
Don't let another commute compromise your vehicle. Get a quote from Calgary's Consumer Choice Award winner today.
Explore Our Services